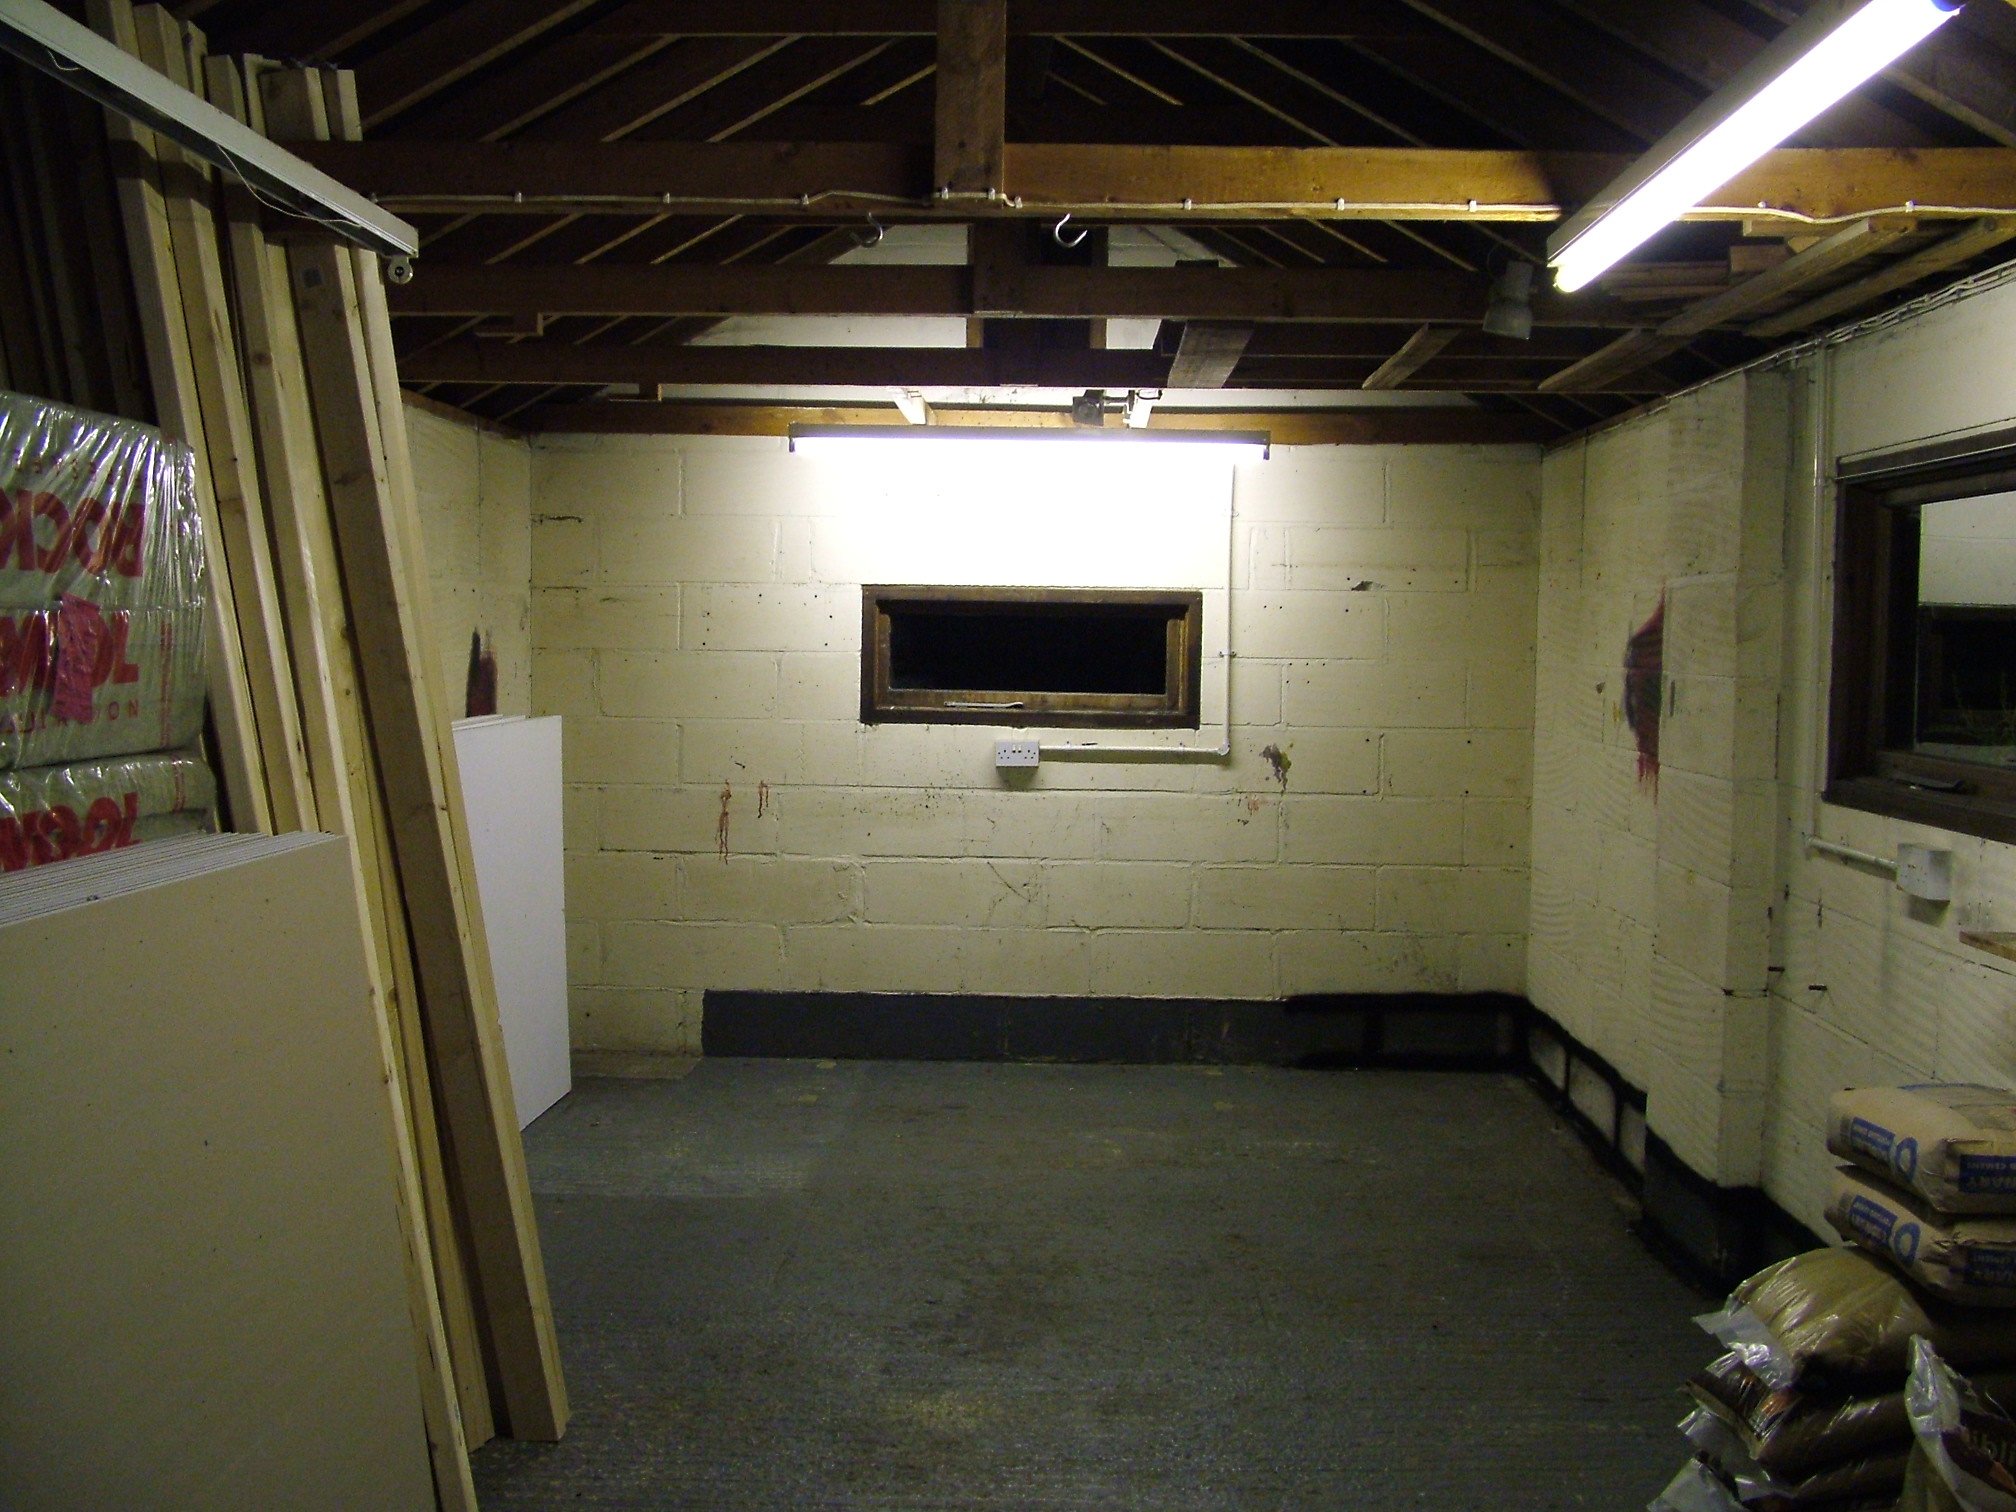
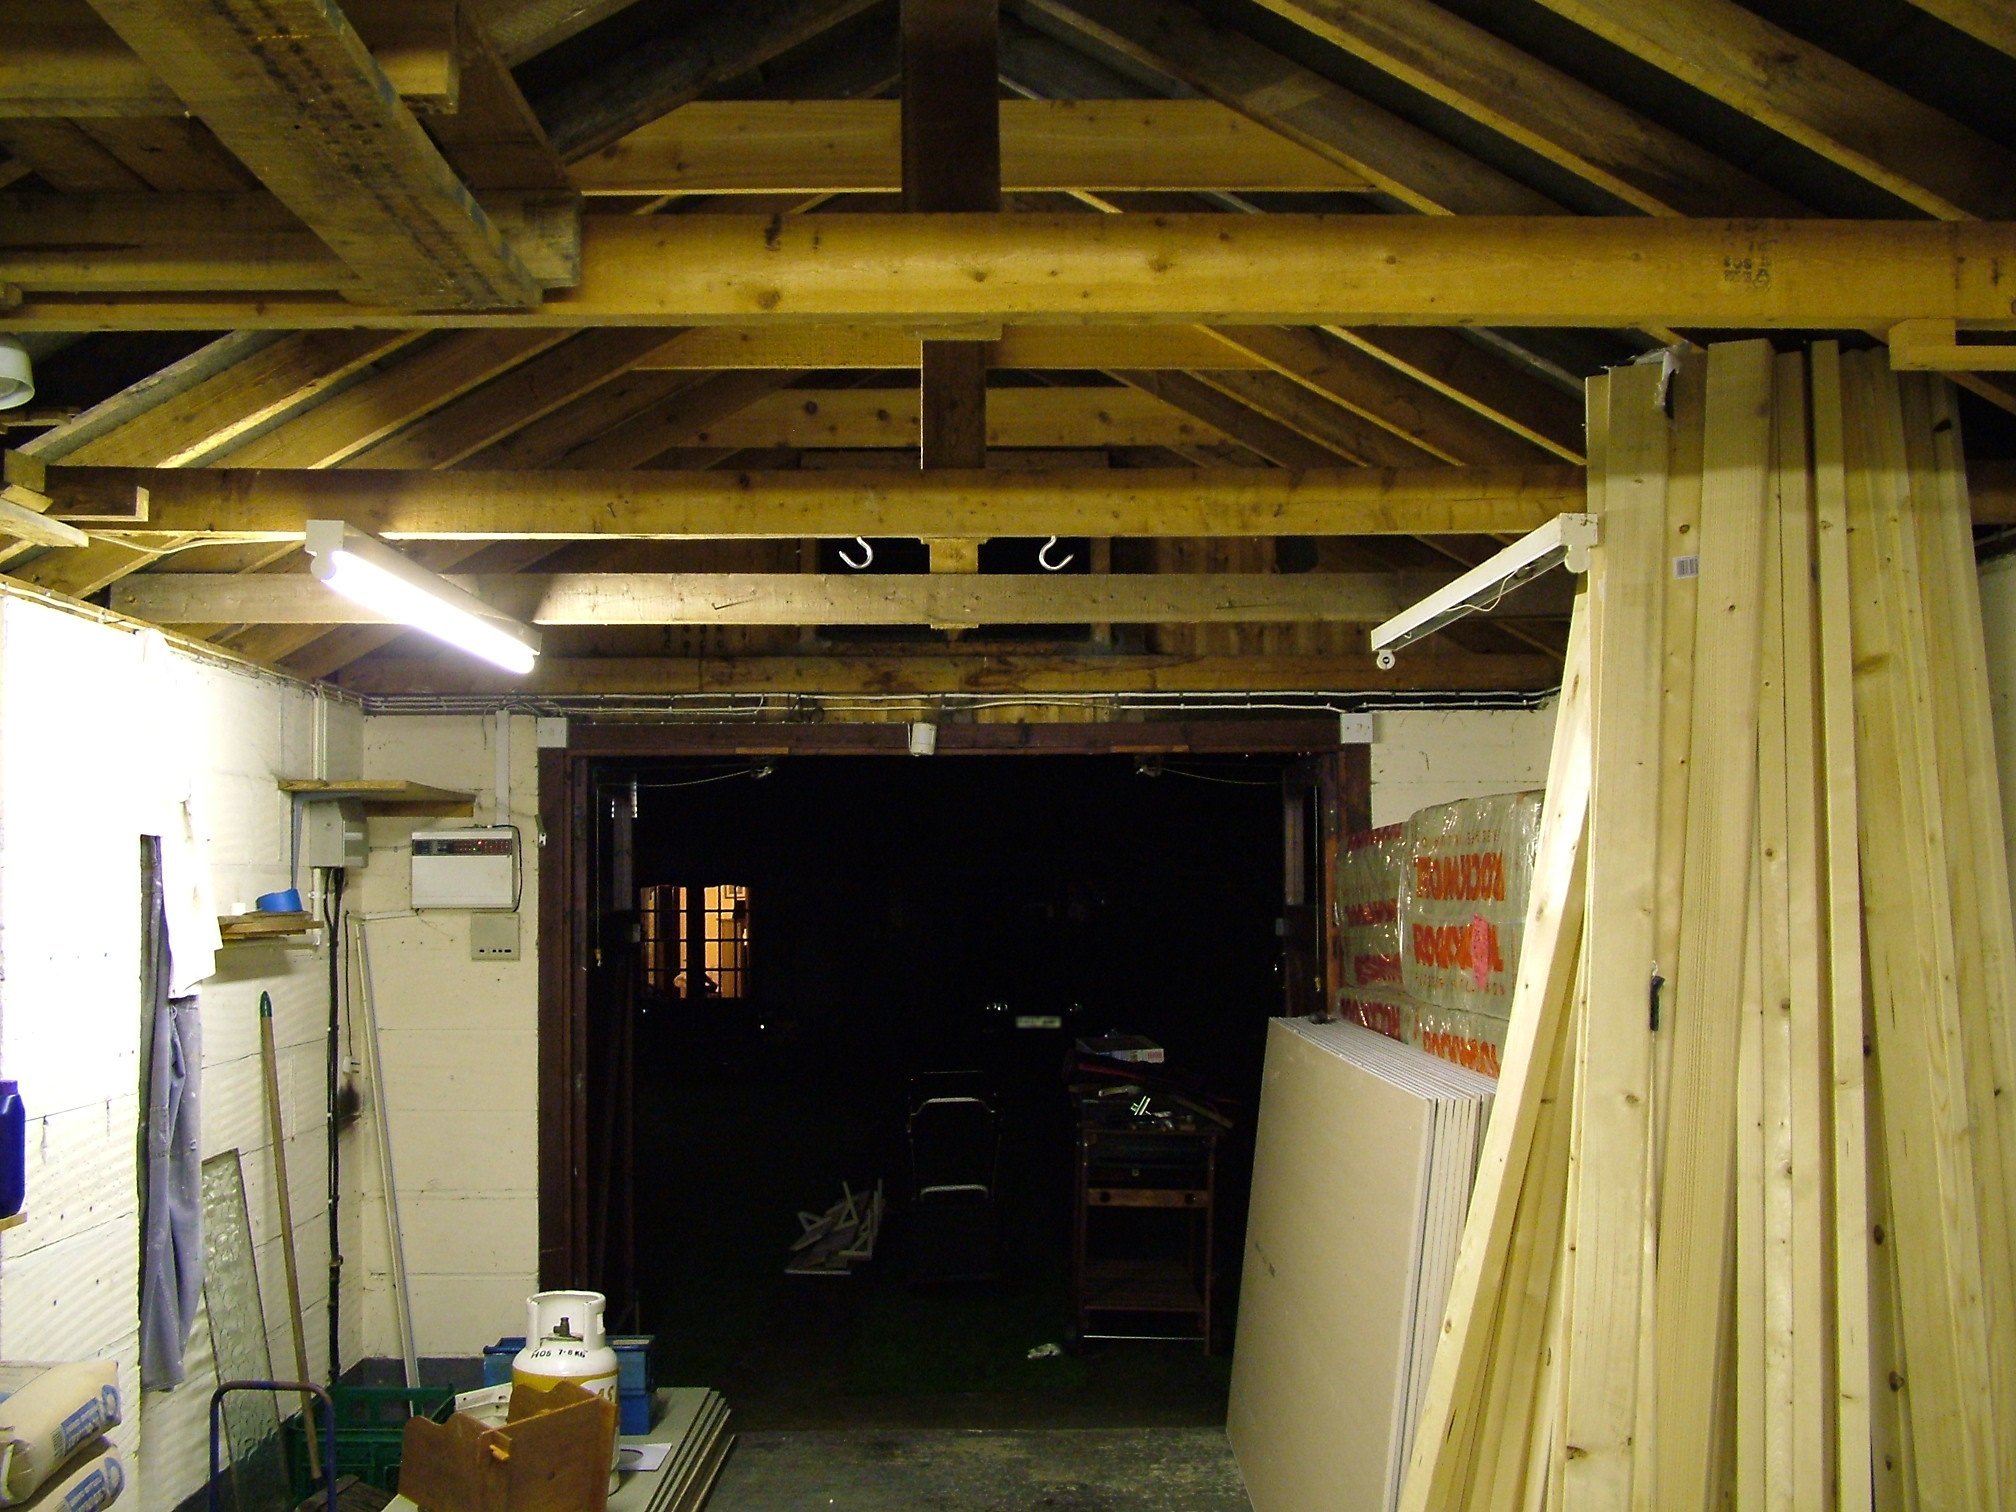
Clear out the garage!
Clear out all the rubbish that you've had lying around in the garage for years. The result is a garage containing only the building materials.
|
Looking into the cleared garage |
|
Looking out of the cleared garage |
The garage is constructed from Celcon blocks (Light weight expanded clay aggregate) on a concrete platform with a pitched timber frame, tiled roof.
Lay damp-proof membrane
Due to the fact that the damp-proof course around my garage has been known to leak during heavy rain, I wasn't going to take any chances with flooding in the future. So even though I have dug a soak-away around the outside of the garage, and treated the inner and outer surfaces of the walls with damp sealant, I still thought it a sensible precaution to add a damp-proof membrane.
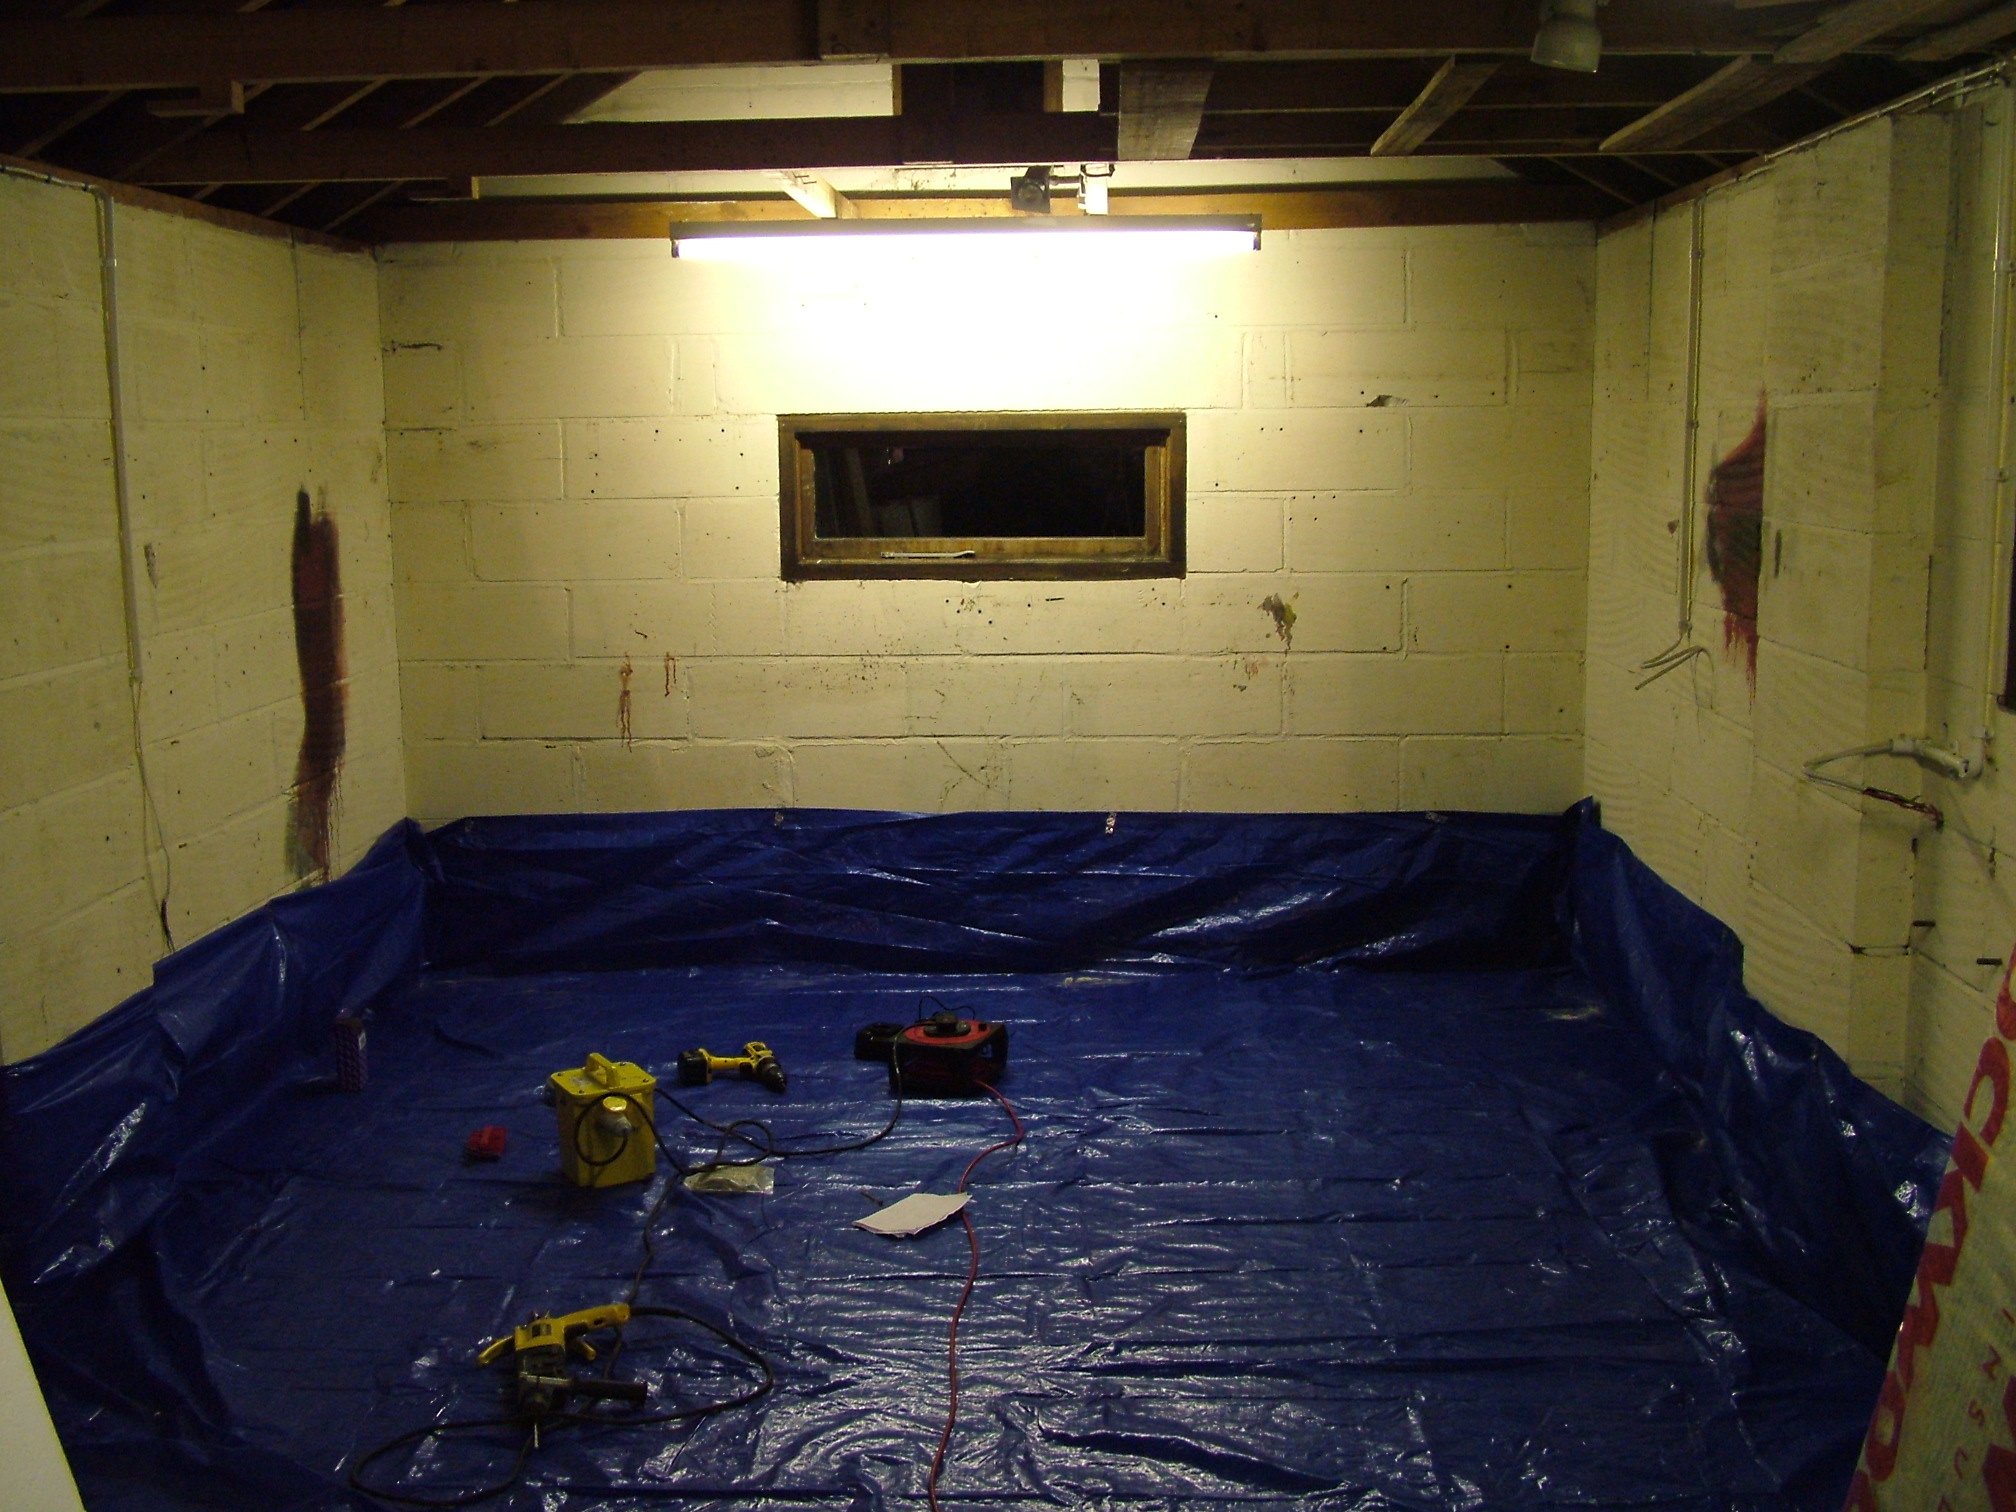
|
Damp-proof membrane in place |
The damp-proof membrane is just a regular plastic ground sheet available from any builders merchant. It is attached to the wall simply using masonry screws and washers.
Before it was laid, the floor had to swept carefully to make sure there were no sharp objects left behind. Once the membrane is down, you must be careful not to puncture it by walking too much on it.
Install electrical wiring
I was fortunate enough to have already a 32 amp consumer unit in my garage. Since electrical power will be needed within the practice room, I needed only to run all the necessary wiring from the consumer unit to the required locations in the room.
For 240v or 220v supplies (e.g. UK and Europe)
The following circuits were used:
- 5 amps for low voltage lighting
- 8 amps for a 2KW electrical heater
- 16 amps for 3 double plug sockets
- 5 amps for an extractor fan
For 110v supplies (e.g. US, Canada & Japan)
For North American readers your electrical supply runs at 110V, so you will have to double the current load on each circuit in order to be able to draw the same power. So to supply the same power for each circuit quoted above, you would draw the following current loads:
- 11 amps for low voltage lighting
- 18 amps for a 2KW electrical heater
- 35 amps for 3 double plug sockets
- 11 amps for an extractor fan
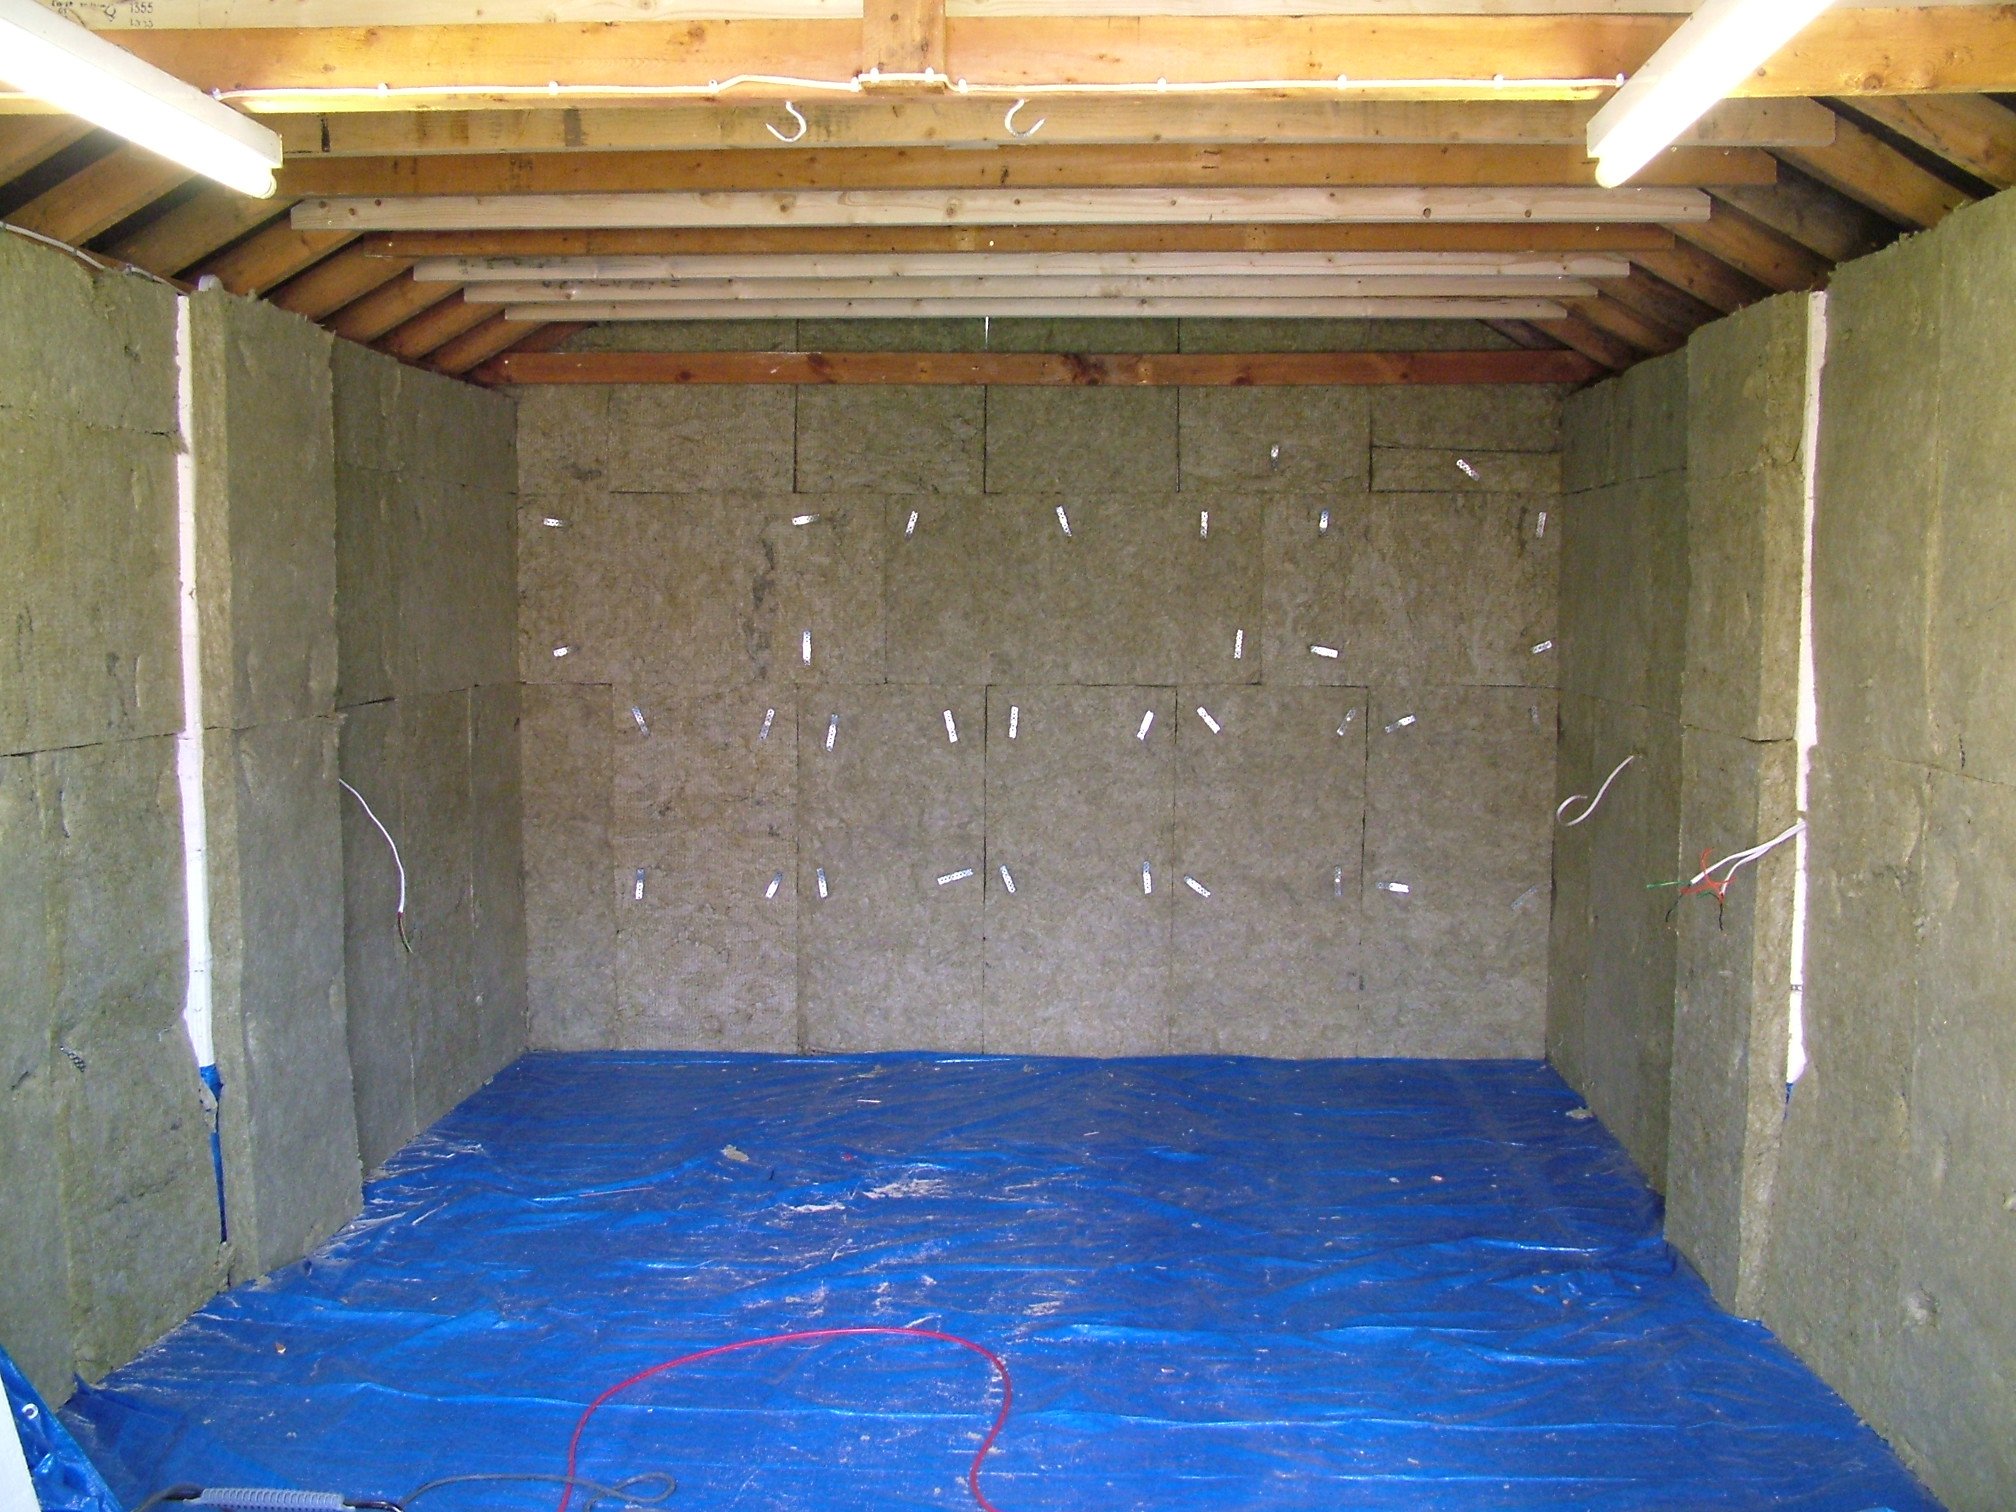
Apply insulation to outer walls
The type of insulation used was slabs of 75mm Rockwool RWA45 (45 kg/m^3).

|
These were fixed to the wall by using short lengths of metal strapping to act as washers. These were placed onto 100mm screws with a Rawlplug on the end. The Rockwool slab was then offered up to the wall, a hole drilled through it into the garage wall, and then the screw with the strapping washer pushed through the Rockwool into the hole and screwed into place. |
Each Rockwool slab was held in place with three or four screws.
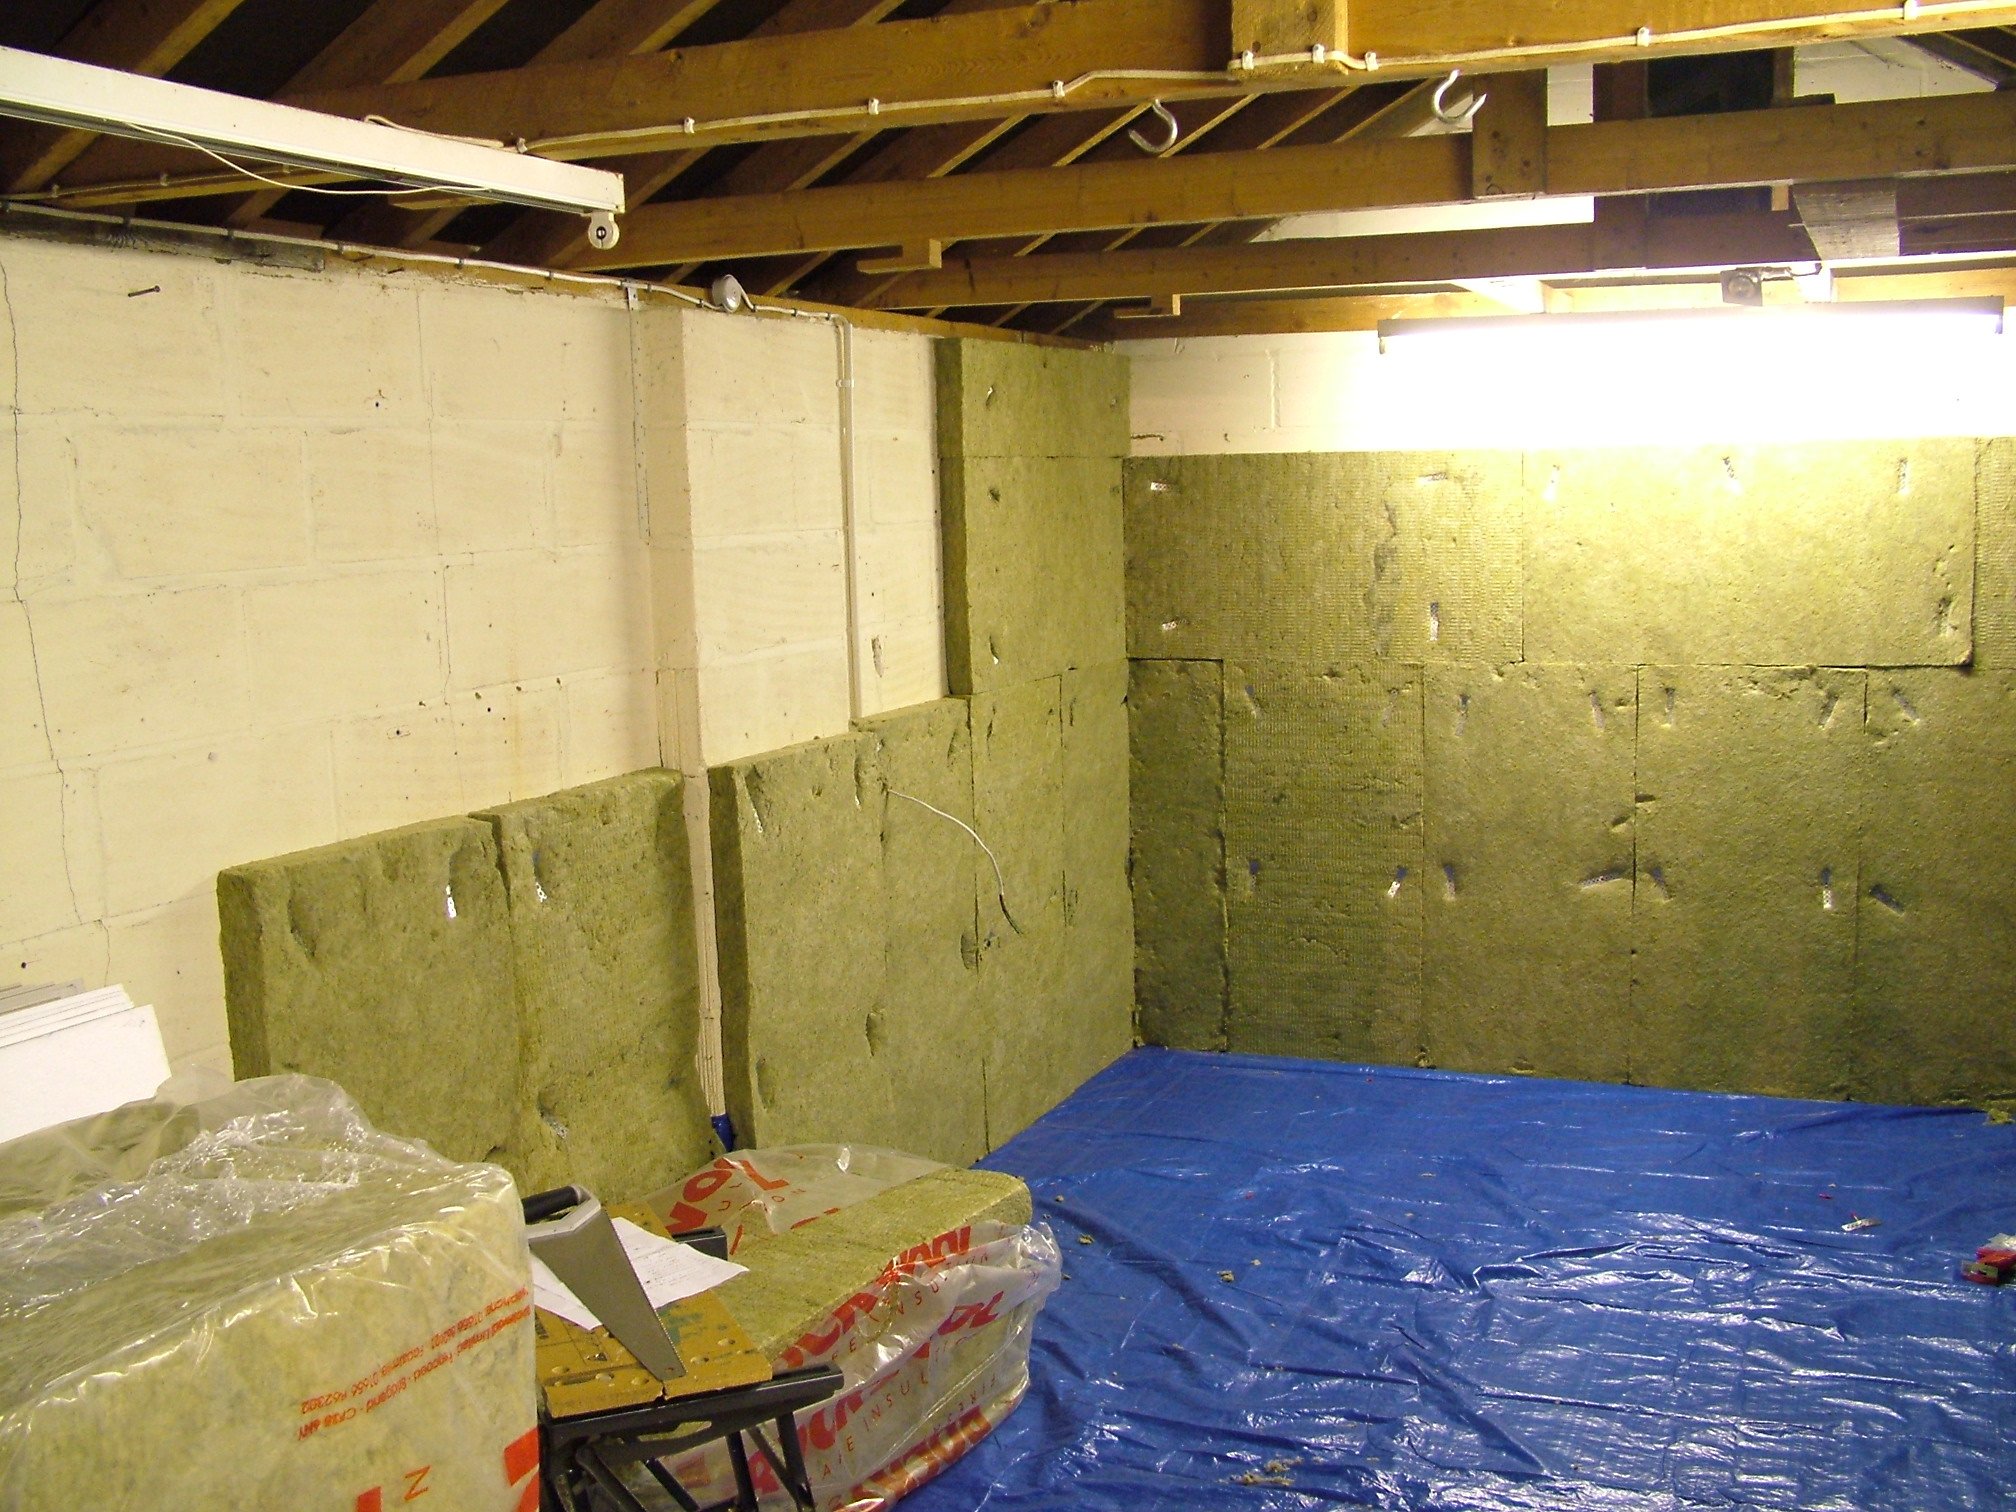
|
Applying the insulation to the outer walls |

|
The existing windows were covered over. |
Adjust ceiling joists
In order to gain more height in the practice room, we had to lift the existing joists. In addition to this, the spacing of the existing ceiling joists was not convenient for the new ceiling design, so new joist timbers were added at every roof joist.
In the photo, the joist on the far left is an existing one that was not raised. You can see that the joists were raised by about 150mm (6").
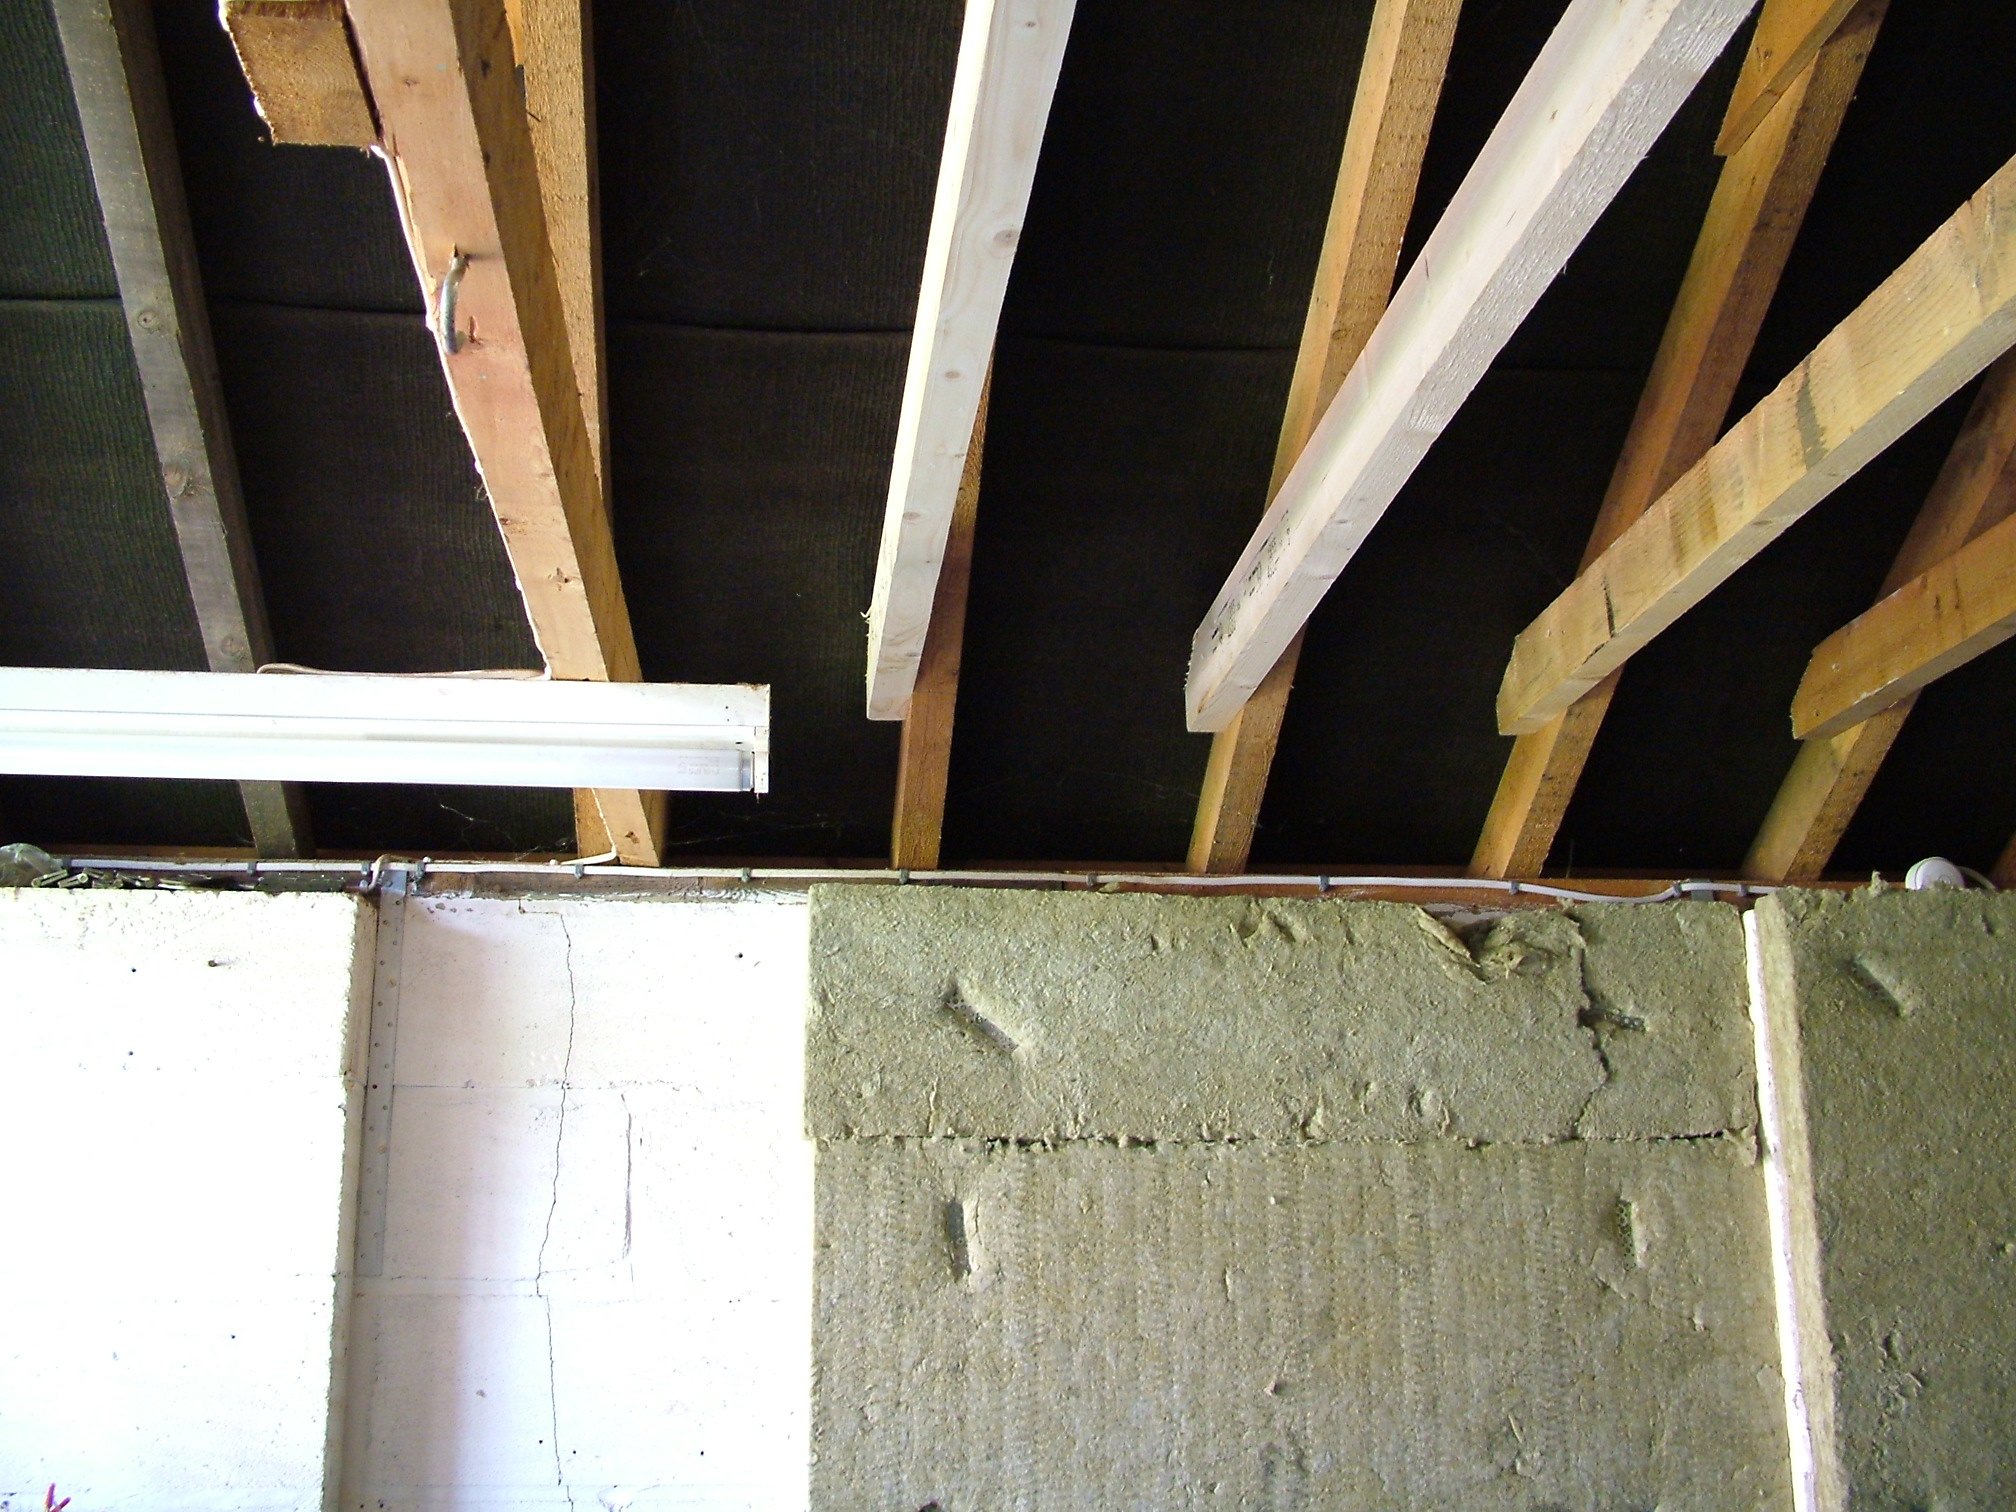 |
Lift the existing joists and add in new ones |
This is one area where extra structural isolation could have been achieved. According to the theory of how a room-within-a-room should be built, there should be no mechanical connection between the inner ceiling and the existing one.
For reasons of simplicity of design and construction, I opted to suspend the new ceiling from the existing one knowing that this would allow a certain amount of high frequency sound to be transmitted from the inner structure to the outer one. However, due to time pressure, I decided to attach the inner ceiling directly to the existing joists.
When designing the inner ceiling, you will face the following problem: how to have a mechanically isolated ceiling that will stay up under its own weight - being supported only around the edges.
After some thinking about it, I believe the easiest way to solve this problem (in my case) is to obtain a few metres of cargo strapping. This is the tough polypropylene strapping that truck drivers use to secure loads onto the flat bed of their trucks. It is very strong under tension and can be used to support the centre of the inner ceiling (The ceiling will become very heavy once you have applied a double layer of plasterboard). The strapping will support the weight of the inner ceiling without transmitting much vibration into the supporting structure.
Preparation complete
All the electrical wiring has been laid, the Rockwool slabs have been attached to the outer walls, and the ceiling joists have been raised.
|
Preparation complete |